Easy Bread Machine Italian Herb Bread: Your Beginner's Guide to Homemade Deliciousness
Imagine waking up to the irresistible aroma of freshly baked bread wafting through your kitchen. Now, imagine achieving that without extensive kneading, messy flour explosions, or complicated techniques. Welcome to the wonderful world of homemade bread using your trusty bread machine! For beginners, there’s no better place to start than with a fragrant and utterly delicious bread machine Italian herb bread. This guide will walk you through creating a soft, fluffy, and aromatic loaf that will impress everyone, including yourself, with minimal effort.
There's something uniquely comforting about homemade bread. It evokes nostalgic food memories, like the warmth of a grandmother's kitchen filled with love and the scent of baking. Our easy bread machine Italian herb bread recipe aims to bring that comfort and joy into your home, making you feel like a master baker, even if you’ve never baked a loaf from scratch before. It's the perfect side for a hearty pasta dish, a comforting bowl of soup, or simply enjoyed on its own with a smear of butter or a drizzle of olive oil.
Why Your Bread Machine is a Game-Changer for Beginners
The beauty of the bread machine lies in its simplicity and consistency. For many, the thought of baking bread conjures images of complicated steps, precise temperatures, and endless kneading. A bread machine eliminates these hurdles, taking care of the mixing, kneading, proofing, and baking all in one convenient appliance. This means:
- No Guesswork: It maintains optimal temperatures for yeast activation and proofing.
- Hands-Off Approach: Simply add your ingredients, select your cycle, and let the machine do the heavy lifting.
- Consistent Results: Bread machines are designed to produce a perfectly risen, evenly baked loaf every time, making it incredibly beginner-friendly.
- Time-Saving: While the bread still takes a few hours to bake, your active involvement is only a matter of minutes.
This hands-off approach is particularly beneficial for making complex flavor profiles accessible, like our delightful bread machine Italian herb bread. You get all the flavor without any of the fuss.
The Magic of Italian Herbs: Flavor Profile & Versatility
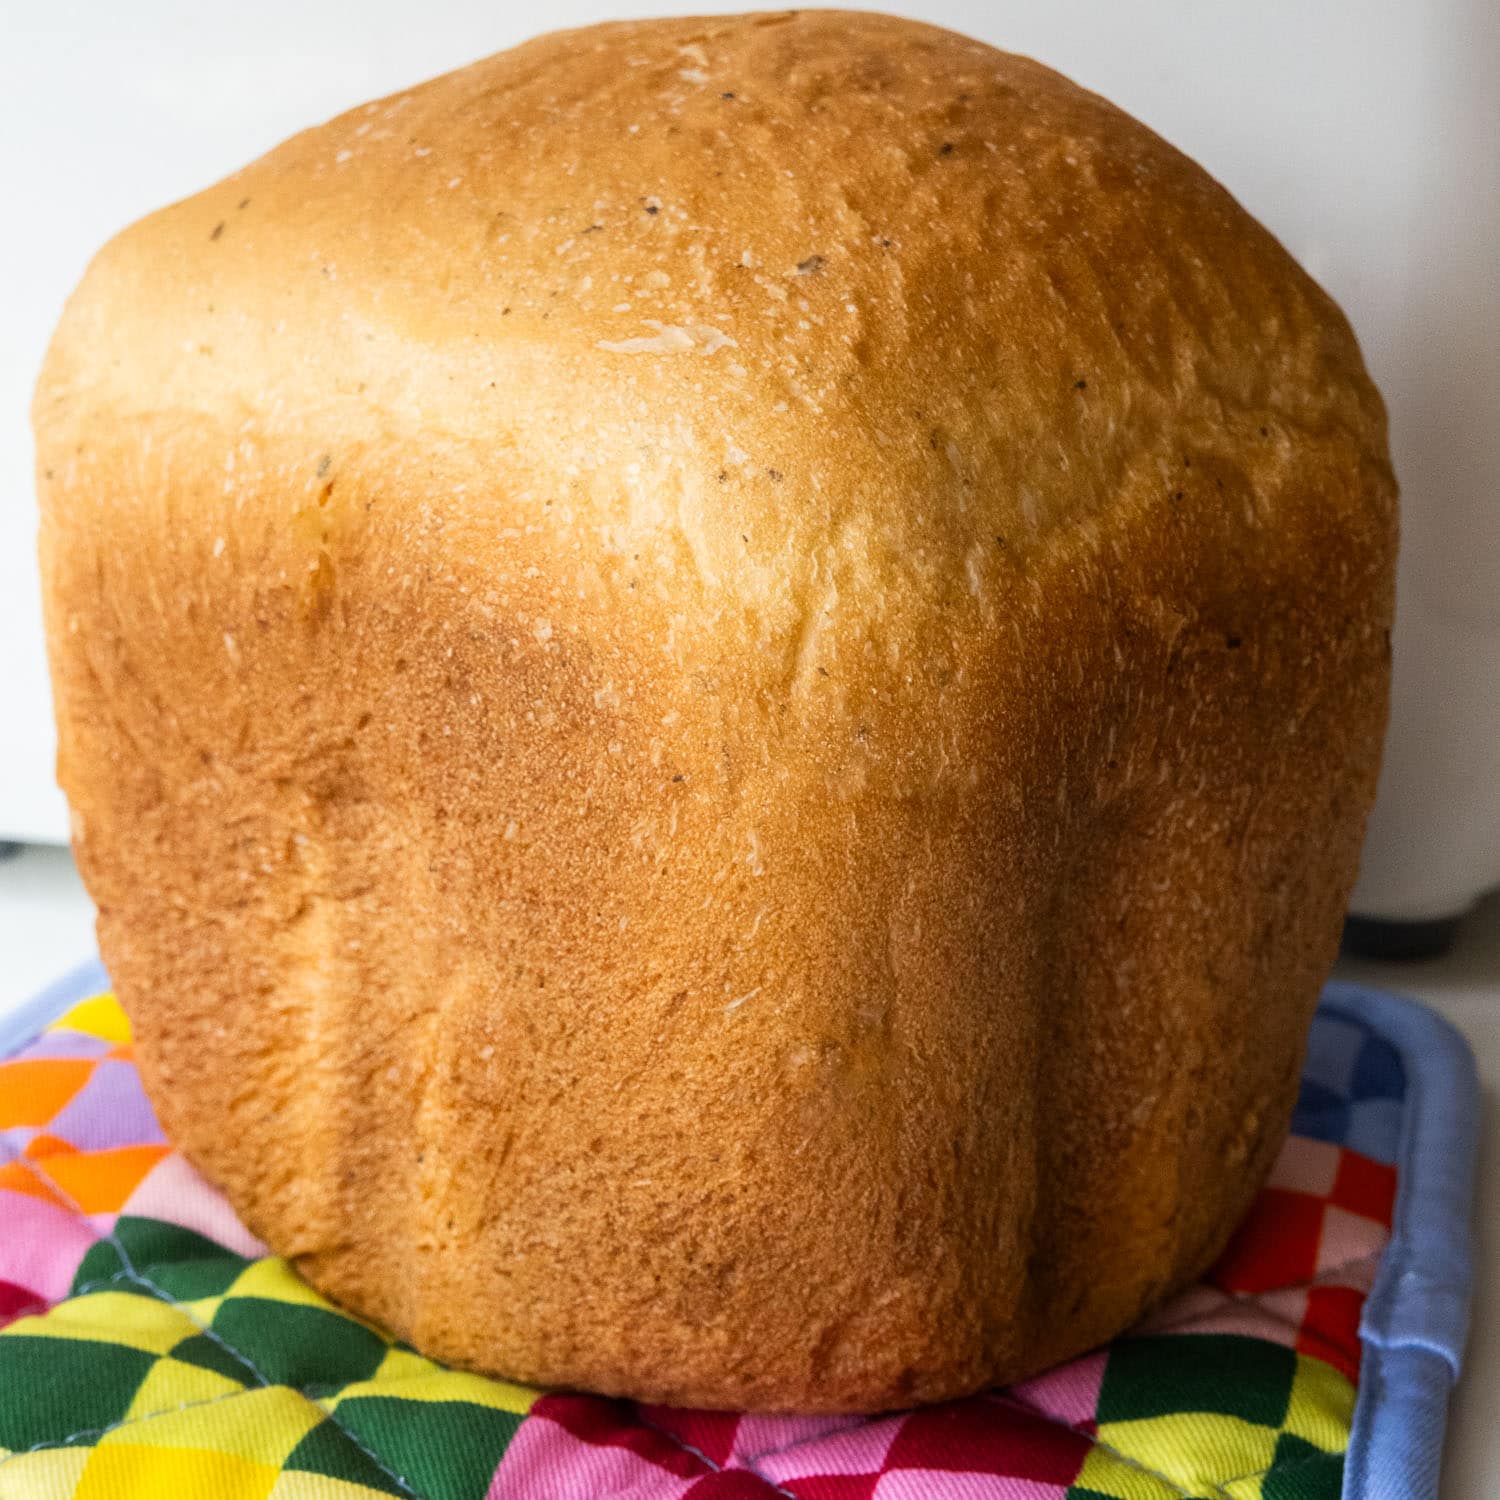
What truly sets this bread apart is the captivating blend of Italian herbs. Think of the warm, inviting aroma that fills an Italian kitchen – that’s precisely what you’ll get. Italian seasoning typically comprises a harmonious blend of dried basil, oregano, rosemary, thyme, and marjoram, sometimes with a touch of sage or garlic powder. These herbs infuse the bread with a savory, earthy, and slightly peppery flavor that is both robust and comforting. The visible specks of green herbs throughout the golden crumb add to its rustic appeal.
This fragrant and savory bread boasts a soft, fluffy texture and a beautiful golden exterior, making it incredibly versatile:
- Perfect Side Dish: It's an ideal accompaniment to classic Italian pasta dishes, rich stews, or a hearty minestrone soup.
- Sandwich Base: Slice it thick and use it for delicious grilled cheese, deli sandwiches, or even bruschetta.
- Toasted Delight: A slice toasted and slathered with butter or a drizzle of good quality olive oil makes for a quick and satisfying snack.
- Holiday Table Star: Its impressive look and aroma make it a welcome addition to any family gathering or cozy dinner.
Whether you’re serving it as a humble side or the star of your meal, this Italian herb bread promises to elevate your dining experience. For those looking to bake different loaf sizes with consistent success, our detailed guide on Fluffy Bread Machine Italian Herb Bread for Any Loaf Size offers additional insights and tips.
Essential Ingredients and Ratios: Your Easy Recipe Guide
Creating this delicious bread machine Italian herb bread starts with understanding the basic ingredients and their precise measurements. Accuracy is key in bread making, even with a machine doing the heavy lifting. We’ve provided scaled recipes for 1 lb, 1.5 lb, and 2 lb loaves, so you can choose the perfect size for your needs. We recommend using good quality active dry yeast and extra virgin olive oil for the best flavor.
For a 2 lb Loaf:
- 1 1/3 cups warm water (around 105-115°F / 40-46°C)
- 4 tablespoons olive oil
- 4 cups bread flour (or all-purpose flour, but bread flour yields a chewier crumb)
- 2 ½ tablespoons granulated sugar
- 2 ½ teaspoons Italian seasoning
- 2 ½ teaspoons active dry yeast
For a 1.5 lb Loaf (This is a popular and versatile size):
- 1 cup warm water (around 105-115°F / 40-46°C)
- 3 tablespoons olive oil
- 3 cups bread flour
- 2 tablespoons granulated sugar
- 2 teaspoons Italian seasoning
- 2 teaspoons active dry yeast
For a 1 lb Loaf:
- 2/3 cup warm water (around 105-115°F / 40-46°C)
- 2 tablespoons olive oil
- 2 cups bread flour
- 1 tablespoon + 1 teaspoon granulated sugar
- 1 teaspoon Italian seasoning
- 1 ½ teaspoons active dry yeast
Ingredient Notes:
- Water: Ensure it's warm, not hot, to activate the yeast without killing it.
- Oil: Olive oil adds a rich, distinct Italian flavor and helps keep the bread moist.
- Flour: While all-purpose flour works, bread flour has higher protein content, resulting in a better rise and chewier texture.
- Sugar: This is food for the yeast, helping it activate and giving the bread a subtle sweetness.
- Yeast: Always check the expiry date on your yeast. Old yeast is often the culprit for a flat loaf.
Step-by-Step: From Ingredients to Aromatic Loaf
Making bread machine Italian herb bread is incredibly straightforward. Just follow these simple steps, paying close attention to the order of ingredients, which can be crucial for optimal results:
- Add Liquids First: Carefully pour the warm water and olive oil into your bread machine pan. Most bread machine manufacturers recommend adding liquids first, but always refer to your specific machine's manual for the exact order.
- Layer Dry Ingredients: Next, add the flour, sugar, and Italian seasoning. Gently level the flour over the liquid ingredients.
- Create a Yeast Nest: Make a small indentation or well in the center of the dry ingredients (don't let it touch the liquid yet). Add the active dry yeast into this well. It's often recommended to keep the yeast separate from the salt and sugar until the mixing begins to prevent premature activation or inhibition. (Note: There's no salt explicitly listed in the reference context, but usually a small amount of salt is crucial for flavor and dough structure in bread. For this recipe, if you wish to add salt, typically 1 to 1.5 tsp for a 1.5lb loaf is appropriate, added with the flour, away from the yeast.)
- Select Cycle and Crust: Place the bread machine pan back into the bread maker. Close the lid. Select the "Basic" or "White Bread" cycle on your machine. For crust color, choose "Medium" for a golden exterior, or "Light" if you prefer a softer, paler crust.
- Press Start: Let your bread machine do its magic! The machine will mix, knead, proof, and bake the bread automatically.
- Check Dough Consistency (Optional but Recommended): About 5-10 minutes into the kneading cycle, open the lid and observe the dough. It should form a smooth, elastic ball. If it looks too dry and crumbly, add water one tablespoon at a time. If it's too wet and sticky, add flour one tablespoon at a time. This small adjustment can make a big difference.
- Cool Before Slicing: Once the cycle is complete, carefully remove the bread machine pan using oven mitts. Invert the pan to release the hot loaf onto a wire rack. Allow the bread to cool for at least 30-60 minutes before slicing. This cooling period is crucial for the internal structure to set, preventing a gummy texture.
Tips for a Perfect Loaf Every Time
- Measure Accurately: Use proper measuring cups and spoons. For flour, spoon it into the measuring cup and level it off rather than scooping directly from the bag.
- Check Yeast Freshness: If your yeast is old, your bread won't rise. You can proof it separately by dissolving 1 tsp of sugar in 1/2 cup warm water, then stirring in 2 1/4 tsp of yeast. If it foams within 5-10 minutes, it's active.
- Temperature Matters: Ensure your water is within the recommended temperature range. Too cold and the yeast won't activate; too hot and it will die.
- Don't Peek Too Often: While checking dough consistency is fine, avoid opening the lid too many times during the proofing and baking cycles, as this can affect the temperature and rise.
- Fresh Herb Substitution: If you prefer fresh herbs, you can substitute the dried Italian seasoning. As a general rule, use 1 teaspoon each of fresh chopped basil leaves, oregano leaves, and thyme leaves for the 1.5lb loaf, adjusting for other sizes. Add them along with the other dry ingredients.
- Storage: Store cooled bread in an airtight container or bread bag at room temperature for 3-4 days, or freeze for longer storage.
Beyond the Basics: Customizing Your Italian Herb Bread
While this classic bread machine Italian herb bread is wonderful on its own, there's always room for personalization. Consider adding:
- Garlic: A teaspoon or two of garlic powder (or minced fresh garlic added with the oil) will give it an extra savory kick.
- Cheese: Mix in half a cup of shredded Parmesan or mozzarella during the kneading cycle for a cheesy, gooey surprise. For those looking to elevate their loaf even further with rich flavors, explore our Aromatic Cheesy Garlic Italian Herb Bread Machine Recipe.
- Sundried Tomatoes: Chop finely and add for a burst of tangy, sweet flavor.
Conclusion
Mastering homemade bread has never been easier thanks to the bread machine. This easy bread machine Italian herb bread recipe is a fantastic starting point for any beginner, promising a delicious, aromatic, and perfectly baked loaf with minimal effort. The comforting aroma, soft texture, and versatile flavor profile make it a staple you’ll want to bake again and again. So go ahead, gather your ingredients, fire up your bread machine, and prepare to delight your senses with a truly homemade treat!
